|
Jim's 35MM and Digital Photography Tips
Flash Photography tips
Night Photography tips
Digital SLR tips
Text and images Copyright © 2008 J. Harrington. Re-use by permission only. Call Jim at 781-244-5655 .
If you have a flash photography, digital photography or film photography question, send e-mail to the corrected version of jim at saugus dot net, for possible inclusion on "Ask Jim."
Jim uses Canon EOS cameras and lenses cameras and lenses
 Use High ISO Setting Only Where Needed (digital photography tip) Use High ISO Setting Only Where Needed (digital photography tip)
Most digital cameras allow the user to set ISO equivalent. This function adjusts the sensor's sensitivity to light. Higher settings allow fast shutter speeds, often needed when shooting telephoto to prevent camera-shake induced blur. Higher ISO equivalents also can facilitate hand-held shots in low light situations, where otherwise a tripod would be needed.
 There's a trade off to these higher ISO settings. It's noise in the image. There's a trade off to these higher ISO settings. It's noise in the image.
All CCD digital cameras produce some levels of unwanted noise but higher ISO settings make it worse. Image noise consists of pixels displaying unwanted, false specks of color. Image noise is often most noticeable in areas of dark color.  For example, you might see lots of red pixels in what should be a black night sky. For example, you might see lots of red pixels in what should be a black night sky.
Digital image noise can cause large prints to be unacceptable and it can also render an images useless for stock photography sales.
Some point-and-shoot cameras have the ISO on automatic by default. An auto-ISO setting could result in very noisy images with low light or telephoto situations.
Digital SLR cameras often have easy-to-access controls for ISO. Take advantage of these controls and minimize noise in your digital photographs.
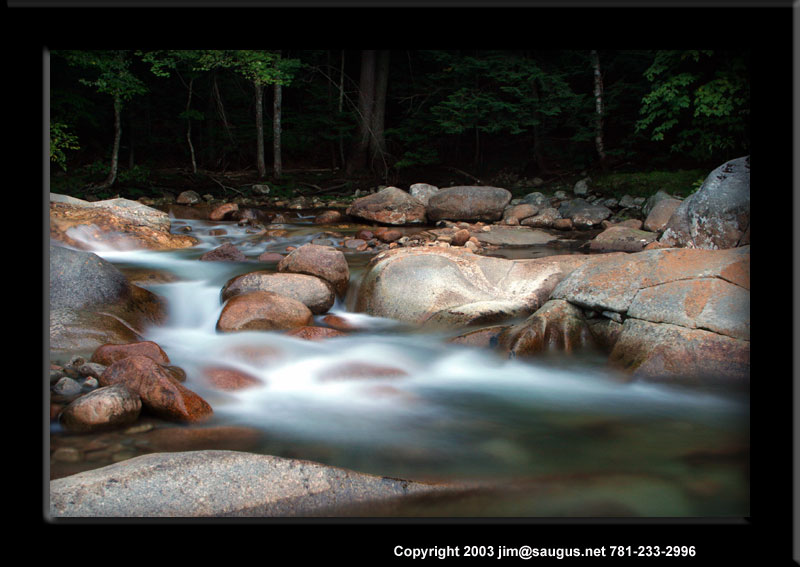
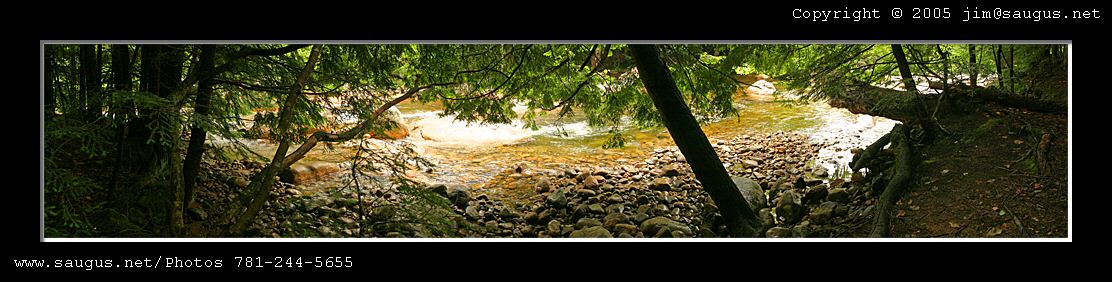
Waterfall Photography Tips
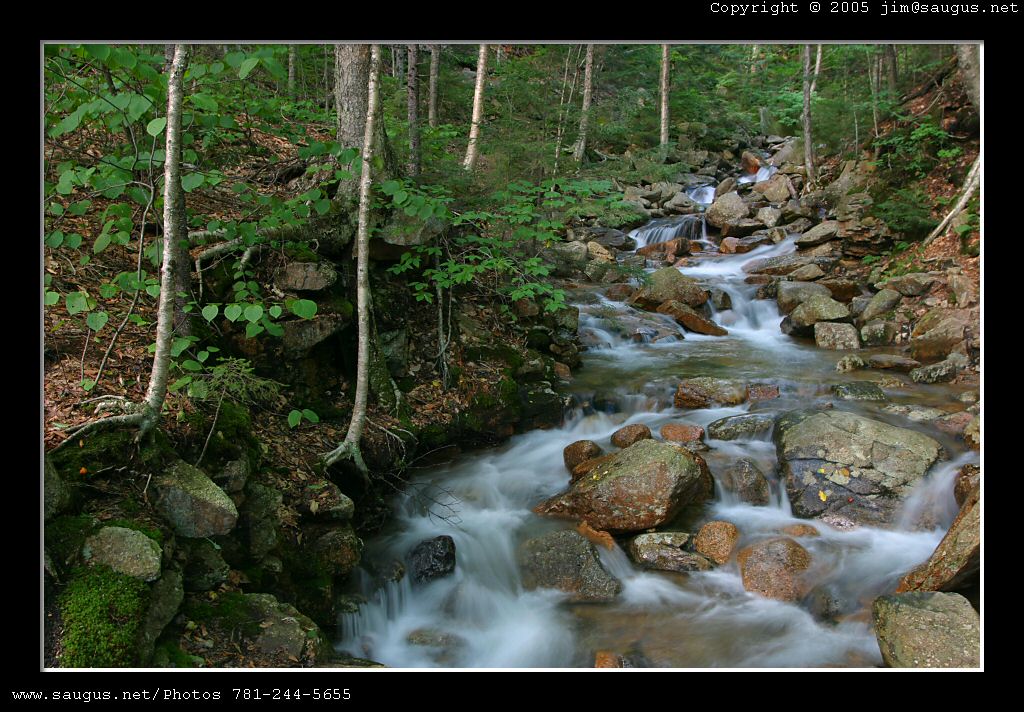
 As you might expect, for waterfall photography it's good have a tripod on hand. Many people like waterfall images to show motion in the water. Slow shutter speeds are needed for this, usually 1/8 of a second or less, depending on waterfall speed. As you might expect, for waterfall photography it's good have a tripod on hand. Many people like waterfall images to show motion in the water. Slow shutter speeds are needed for this, usually 1/8 of a second or less, depending on waterfall speed.
Under bright, sunny conditions it's often difficult to get shutter speeds that slow without over-exposing, especially at higher ISO equivalent settings. Shoot before sunrise or after sunset, or on cloudy days. Most waterfall images show little detail in the water, unless you...
Under-expose the scene by one at least 1 stop to avoid ruining the highlights in the white water. If your shooting digital, and who isn't?...the underexposed area can then be lightened up using Adobe Photoshop Elements. Try the shadow and highlight adjustment.
Most scenic photography will look better if you increase the color saturation by a reasonable amount. Don't go overboard.
- General Photography Tip: Many of the best images I've made over the years were made while I was traveling on my bicycle. On a bike you cover more ground than walking but you don't have the restrictions of a car.
-
Digital Camera tip: Because digital camera images cost virtually nothing, take lots of pictures of a scene or subject. Vary your images by using different viewing angles, distance from subject, zoom settings etc. By making many, but slightly different exposures of a scene, you are more likely to get that special shot. That brings to mind another digital photography tip...
- Don't save every digital photo you make. Going through the images to determine which images are worth saving and which are not, forces you to critique your own shots. It may help you make better pictures in the future. It'll also make for more interesting slide shows. Don't become a digital pack rat. If you have images that are repetitive or boring, but you want to keep them for posterity, make a sub folder for those.
 Flash Photography tips-Bounce Flash Tips The flash built-in to many cameras can make great exposures but its range is limited, especially compared to a shoe-mount flash or strobe. I recently purchased a Canon 580EX flash. Flash Photography tips-Bounce Flash Tips The flash built-in to many cameras can make great exposures but its range is limited, especially compared to a shoe-mount flash or strobe. I recently purchased a Canon 580EX flash.
If you use a shoe-mount flash unit, which tilts up for bouncing flash off ceilings, images can be further improved by reflecting some of that light straight forward with a reflector/diffuser. This not only improves the overall look of bounced flash but also adds a catchlight to the eyes of your subject.
Reflected or diffused flash results in much better portraits with softer shadows and a more natural look to the lighting. I'll soon be trying out Joe Demb's "Flip-it!" flash reflector / diffuser. After reviewing the Flip-It flash reflector/diffuser, I'll be adding some more information here about the advantages of bounced, diffused and reflected flash photography.
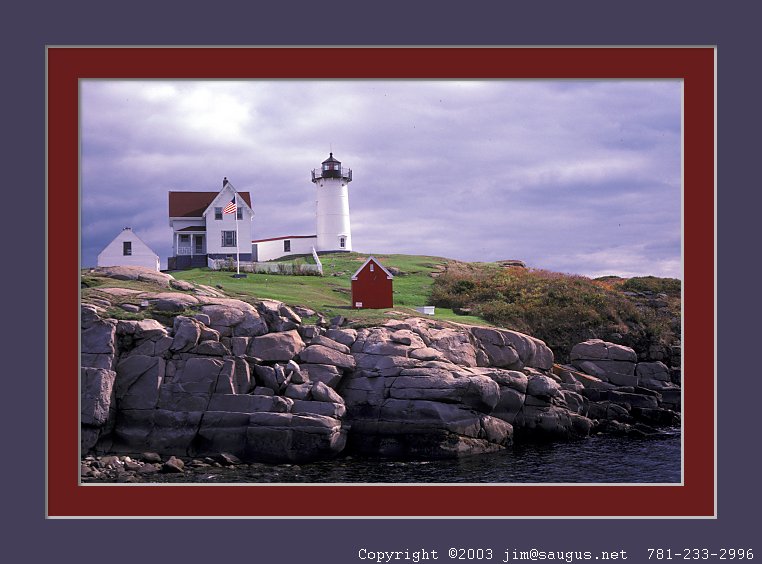
 Digital Photography Tip - White Balance - Don't use the default auto-white-balance setting in every situation. Auto-white balance can render your images a dull gray on cloudy days. If your camera has a white balance setting for "cloudy" or "incandescent lights" use those settings in those situations and you'll render much more pleasing color. Digital Photography Tip - White Balance - Don't use the default auto-white-balance setting in every situation. Auto-white balance can render your images a dull gray on cloudy days. If your camera has a white balance setting for "cloudy" or "incandescent lights" use those settings in those situations and you'll render much more pleasing color.
- Digital Camera Tip - Back-up your image files often. Copying your digital photographs to CD-R and DVD-R will help ensure your images survive in the event your computer breaks down or gets stolen. Keep a second back-up set of disk at a family members house. That will ensure your images survive if your home is subject to a catastrophe, fire, etc. Never count on just one set of your digital picture files.
 Bring your camera: Bring you camera with you where ever you go, if possible. You never know when an image making opportunity will arise. If you don't have the camera, you won't get the shot. If you shoot with a digital camera, keep a spare set of fully-charged batteries on hand. Bring your camera: Bring you camera with you where ever you go, if possible. You never know when an image making opportunity will arise. If you don't have the camera, you won't get the shot. If you shoot with a digital camera, keep a spare set of fully-charged batteries on hand.
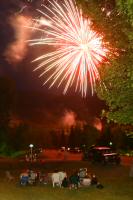
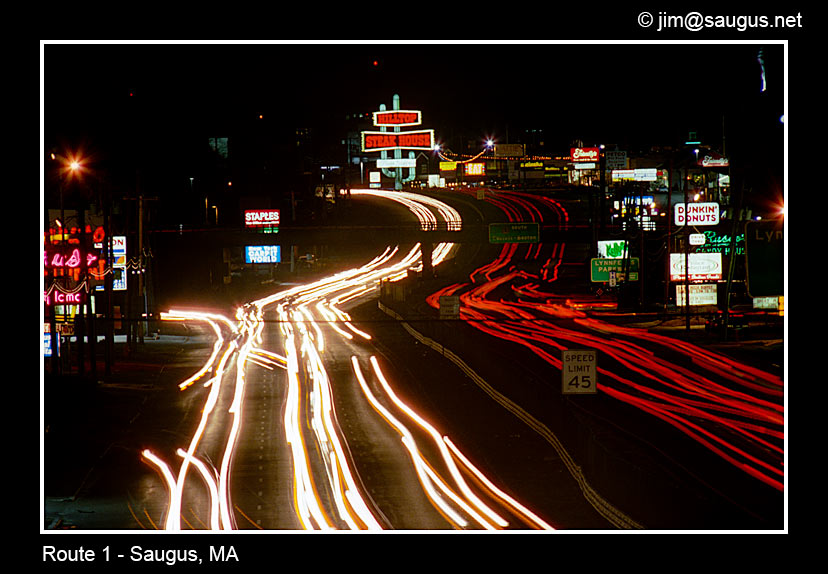
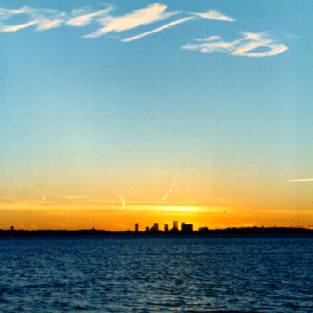
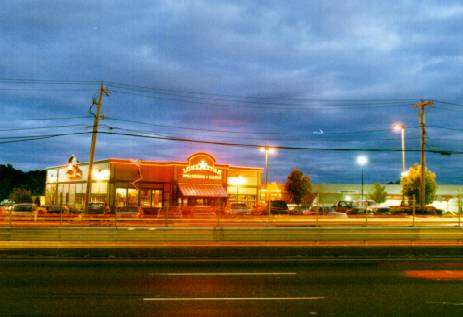
- Night Photography Tips. Images made after dark can be rewarding and provide a great opportunity to experiment. Night photography can be more interesting after a rain storm because wet surfaces reflect more light. Night photography often requires a tripod. When a tripod is not available, cameras can be supported on any flat, stable surface. For example; fence posts, tables, walls etc. A bean bag under the camera can help with lining up your shot in those cases. Sometimes I carry a small table-top tripod. Be aware, long exposures with a digital camera can result in noise and hot pixels.
 The best night photographs, in my opinion, are made after sunset but before total darkness. Including artificial lights in the scene can make your photographs more interesting.
Night photography is more forgiving as far as exposure goes.
-
Get close to your subject. Many otherwise good pictures are simply too far from the subject. Keep in mind the minimum focus distance of your camera's lens. Be sure to read Mark Plonsky's article on really getting close to your subject. Extreme close-up photography is sometimes referred to as macro photography.

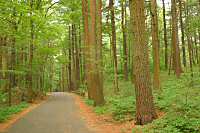
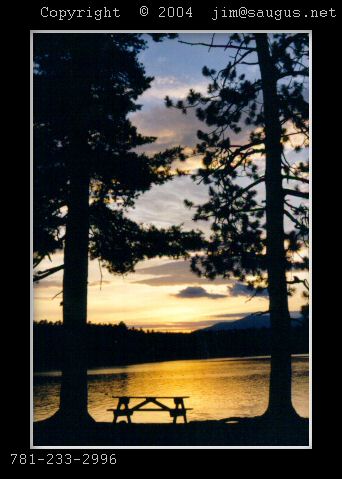
Horn Pond - Acton, Maine - click for large version
- Use a tripod. Tripods are indispensable for creative and night photography. Tripods hold the camera motionless for night pictures and steady the camera when a long lens is used. If your camera has a self timer, (shutter release delay) using it and tripod will allow you to jump into the picture, maybe twice! This double exposure was made made entirely on camera. When a tripod is not available, cameras can be supported on any flat stable surface, fence posts, tables, walls etc. A bean bag under the camera can help with lining up your shot in those cases.
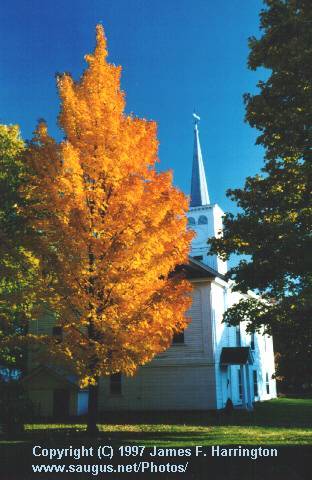
- Use a polarizer. Polarizing filters are available for most SLR lenses. When used outdoors, they can dramatically improve images by reducing reflected light. On sunny days, skies will be a much deeper blue. This is most noticeable roughly 90 degrees to the angle of the sun. In some cases overall color saturation will improve. Reflections from water, glass and painted surfaces will be diminished. Sunset pictures will sometimes benefit also. Polarizers reduce the light entering your lens by at least two f stops. Auto focus SLR lenses may require circular polarizers to allow auto focus to work properly. A polarizer is not recommended for every outdoor situation. In scenes where there is NOT a lot of reflected light polarizing filters can lower image quality.
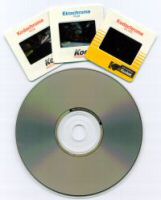
- Try slide film. Slide film has benefits and drawbacks. One drawback is the inconvenience of viewing the images. Small inexpensive slide viewers are available for less than $15.00. Of course the best way to view slides is to project them in a dark area. This way each image is an enlarged showing fine detail. Somehow, viewing slides properly projected, images seem much more life-like compared to prints. Perhaps it's due to using a light source to view the image.
Slide film processing can be less costly than prints, but the film itself is more generally more expensive than print film. Slide film also requires more precise exposure than print film. I offer slide scanning services.
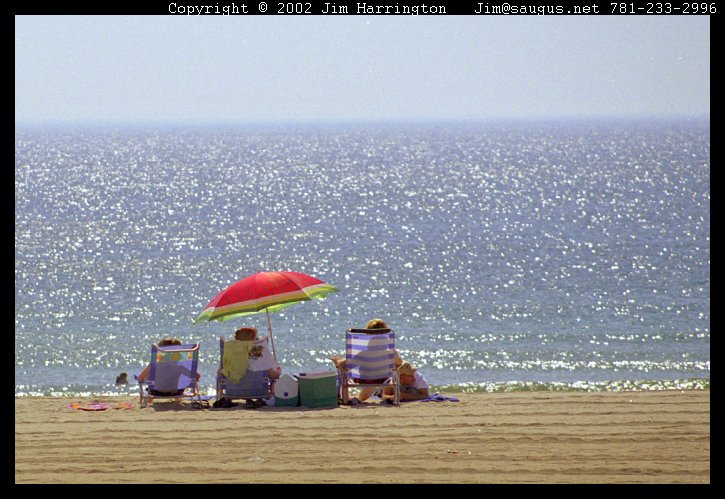
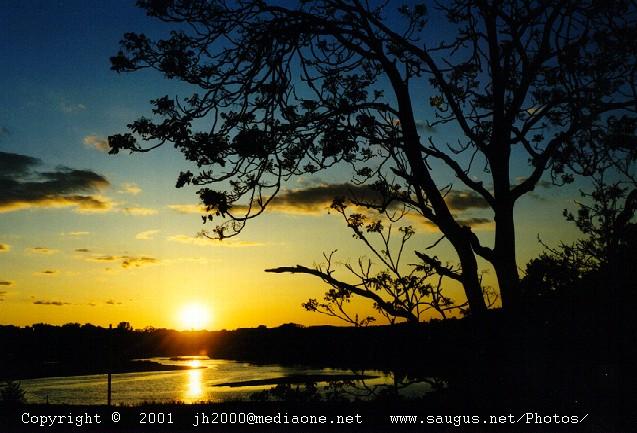
- Remember some composition rules.
-
- For outdoor scenic images avoid splitting the image in half with the horizon. (like the image above.) Try to place the horizon 1/3 from the top or 1/3 from the bottom of your viewfinder.
-
- For close-up portraits of people, orient the camera to the portrait format. Keep the eye level of the subject 1/3 of the way down from the top of the frame.
-
- Avoid having a distant subject in dead center of a frame.
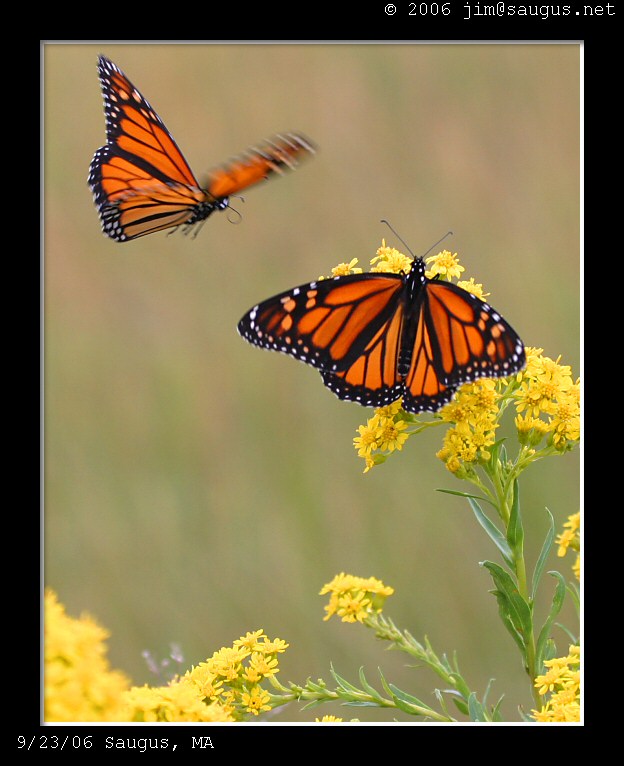
- Things to remember when using zoom and telephoto lenses. When long focal length lenses are used, the slightest camera movement during exposure can result in blurred images. That is unless, your shutter speed is fast enough or the camera is supported by a tripod.
 As a rule of thumb, when hand holding a camera, shutter speeds should be faster than your lens's focal length to avoid blurred images from camera shake. For example if using a 70-210 MM zoom lens, if it's set at 100 MM, 1/125 second should be fast enough on the shutter. If the lens is set to 210MM, at least 1/250 second would be recommended. A 400 MM lens would require at least 1/500 second and so on. Newer lenses with image stabilization would allow slower shutter speeds. 400 speed film (or faster) is often used along with long lenses to allow faster shutter speeds. As a rule of thumb, when hand holding a camera, shutter speeds should be faster than your lens's focal length to avoid blurred images from camera shake. For example if using a 70-210 MM zoom lens, if it's set at 100 MM, 1/125 second should be fast enough on the shutter. If the lens is set to 210MM, at least 1/250 second would be recommended. A 400 MM lens would require at least 1/500 second and so on. Newer lenses with image stabilization would allow slower shutter speeds. 400 speed film (or faster) is often used along with long lenses to allow faster shutter speeds.
Canon 100-400MM lens reviews.
Long focal length and zoom lenses can allow you to isolate your subject and put the background out of focus, drawing attention to the subject. wide aperture lenses also help put the background out of focus.
Telephoto lenses have a tendency to compress apparent distances between objects in the foreground and background.
Archive your digital photographs. Read this page.
|


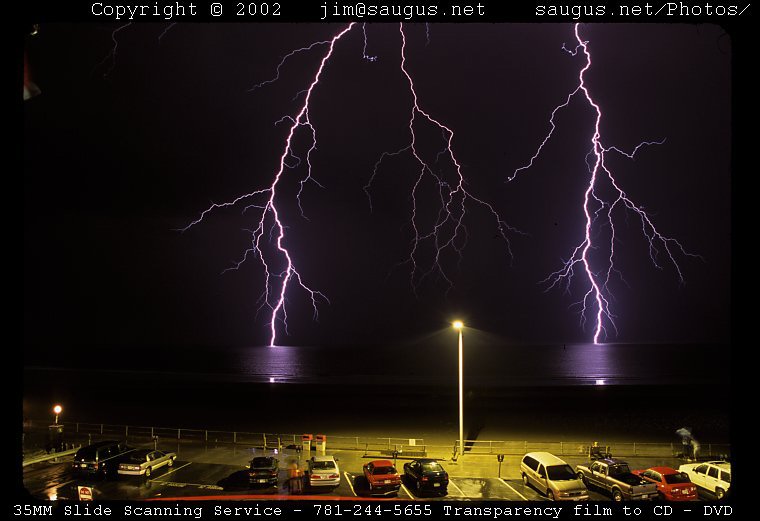
![Split Lightning Strike. Hampton Beach , NH - Click to view large version. [ Fuji Provia 100 Slide film ]](images/1523t.jpg)


